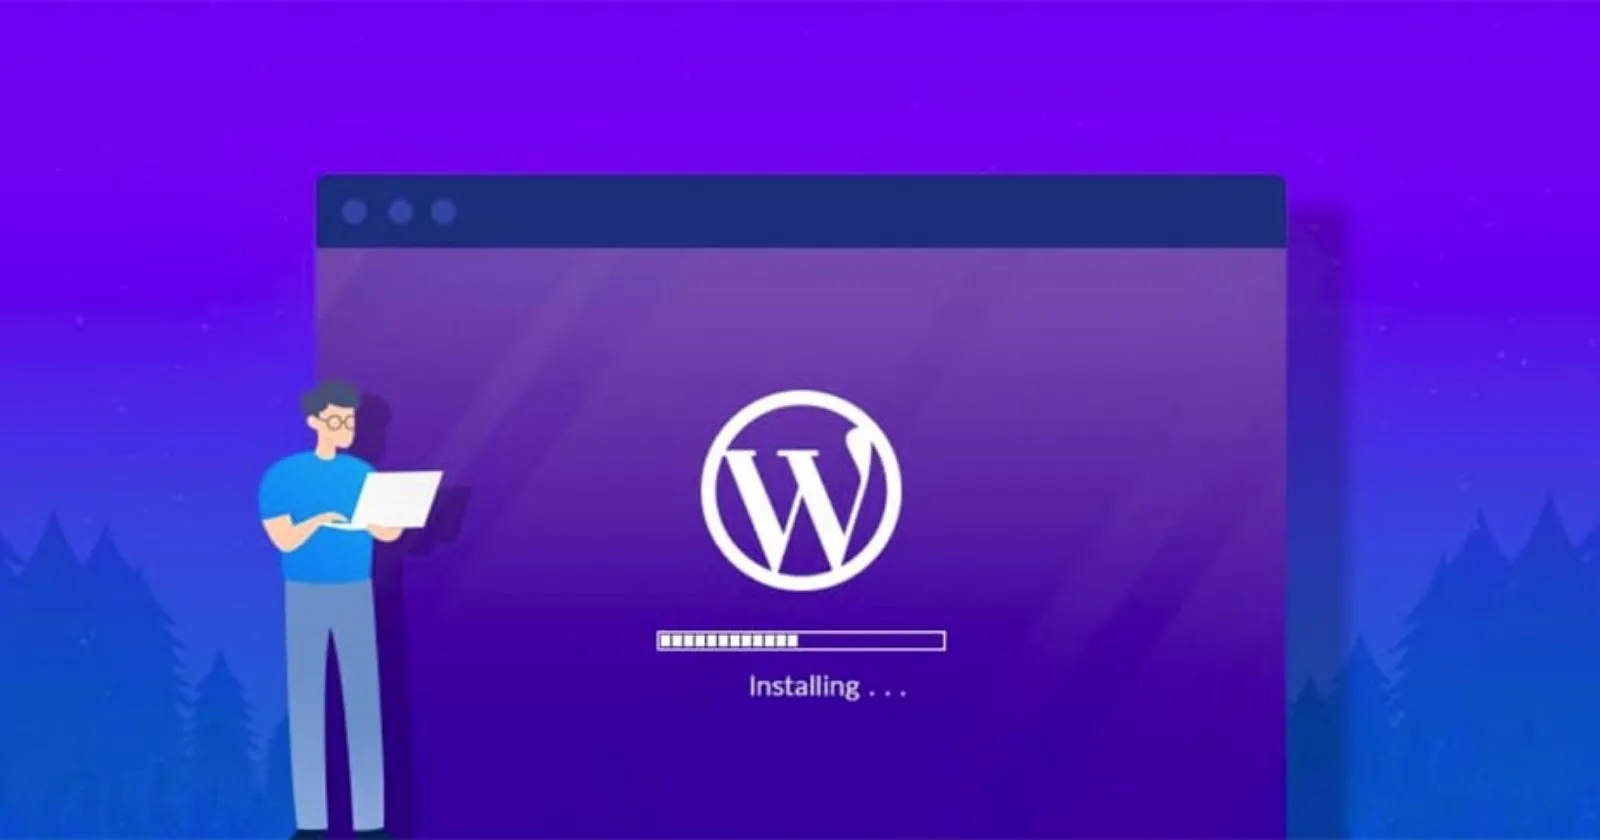
How to Install WordPress: Auto, Manual & Local Methods
So, you’ve decided to use the powerful, flexible, self-hosted WordPress.org software for your website. Excellent choice! Unlike the hosted WordPress.com service, using the .org software means you need to install it on your own web hosting account. While this might sound daunting, there are several ways to install WordPress, ranging from incredibly simple one-click options provided by hosts to more hands-on manual methods. This guide explores the most common methods for installing WordPress on a live web server and for setting up a local development environment.
Read also : How to Use Elementor with WordPress
Table of Contents
Method 1: Using Hosting Account Auto-Installers (Easiest)
Most reputable web hosting providers offer tools within their control panels (like cPanel, Plesk, or custom dashboards) to install WordPress with just a few clicks. These are often called “one-click installers” or “script installers.” Popular examples include:
- Softaculous: Widely used in cPanel, offers a simple interface to install WordPress and hundreds of other applications.
- QuickInstall: Another common installer found in cPanel.
- Fantastico: An older but still functional script installer.
- Managed WordPress Hosting Installers: Providers specializing in WordPress (like Kinsta, WP Engine, Flywheel) often have their own streamlined installation process when you set up a new site with them.
General Process (may vary slightly by host/installer):
- Log in to your hosting account control panel.
- Locate the WordPress installer tool (often under “Software,” “Website,” or a dedicated “WordPress” section).
- Click the “Install” or “Install Now” button for WordPress.
- Fill in the required details: choose the domain/directory for installation, site name, admin username, strong password, and admin email address.
- Review advanced options if necessary (database name, table prefix – defaults are usually fine for beginners).
- Click the final “Install” button.
The installer handles downloading WordPress, creating the database, and configuring the basic setup automatically. This is the recommended method for most beginners.
Read also : Using the Official WordPress Logo
Method 2: Manual WordPress Installation (The Famous 5-Minute Install)
If your host doesn’t offer an auto-installer, or if you prefer more control, you can install WordPress manually. While it involves more steps, it’s still relatively straightforward.
- Download WordPress: Get the latest version of WordPress as a ZIP file from the official WordPress.org download page.
- Upload Files: Unzip the downloaded file on your computer. Upload the *contents* of the `wordpress` folder (not the folder itself) to the root directory of your website on your web server (e.g., `public_html`, `www`, `httpdocs`). Use an FTP client (like FileZilla) or your hosting account’s File Manager.
- Create a Database & User: Log in to your hosting control panel (e.g., cPanel) and find the database management tool (often “MySQL Databases” or similar). Create a new database (e.g., `yourdomain_wp`). Create a new database user with a strong password. Add the user to the database and grant it “All Privileges.” **Note down the database name, username, and password.**
- Configure `wp-config.php`: In the files you uploaded, find `wp-config-sample.php`. Rename it to `wp-config.php`. Open `wp-config.php` in a text editor and update the following lines with the database details you noted in the previous step:
define( 'DB_NAME', 'database_name_here' );
define( 'DB_USER', 'username_here' );
define( 'DB_PASSWORD', 'password_here' );
define( 'DB_HOST', 'localhost' ); // Usually 'localhost', but check with your host if unsure
Also, find the Authentication Unique Keys and Salts section. Go to the WordPress secret key generator, copy the generated keys, and paste them into your `wp-config.php`, replacing the placeholder lines. Save the file and ensure it’s uploaded back to your server if edited locally.
- Run the Installation Script: Open your web browser and navigate to `yourdomain.com/wp-admin/install.php` (replace `yourdomain.com` with your actual domain).
- Complete Setup: Follow the on-screen prompts to enter your Site Title, desired Admin Username, a strong Admin Password, and your Admin Email address. Click “Install WordPress.”
- Login: You should see a success message. You can now log in to your WordPress admin dashboard via `yourdomain.com/wp-admin`.
Method 3: Installing WordPress Locally (for Development/Testing)
Installing WordPress on your own computer (localhost) is excellent for development, testing themes/plugins, or learning without affecting a live site.
- Install Local Server Software: Download and install a local server environment application like LocalWP (highly recommended for WordPress), XAMPP, MAMP, or WampServer. These packages typically include Apache/Nginx, PHP, and MySQL/MariaDB.
- Download WordPress: Get the latest ZIP file from WordPress.org.
- Create a Database: Use the database tool provided by your local server software (e.g., Adminer or phpMyAdmin, usually accessible via the software’s control panel or `http://localhost/phpmyadmin`) to create a new database for your local site.
- Place WordPress Files: Unzip the WordPress download. Place the contents of the `wordpress` folder into the appropriate web root directory for your local server software (e.g., within the `app/public` folder for a site in LocalWP, `htdocs` for XAMPP/MAMP).
- Configure & Install: Follow steps 4-7 from the Manual Installation method above, using `localhost` as the DB_HOST and the database name you created locally. Access the installation script via the local URL assigned by your software (e.g., `yoursite.local/wp-admin/install.php` or `http://localhost/foldername/wp-admin/install.php`).
Need Professional WordPress Setup & Management?
Whether you need a fresh installation, migration from another platform, or ongoing management and support for your self-hosted WordPress site, WebDest has you covered. We ensure your WordPress installation is secure, optimized, and ready for success.
Our WordPress Services:
- ✓ Expert WordPress Installation & Configuration
- ✓ Managed WordPress Hosting Guidance
- ✓ Local Development Environment Setup
- ✓ Site Migration Services
- ✓ Security Hardening & Maintenance
Conclusion: Choosing Your Installation Path
Installing WordPress is the first step towards building your website with the world’s most popular CMS. For most users on standard hosting plans, the one-click auto-installers offer the simplest and quickest route. The manual installation provides more insight into the underlying process and is necessary in some hosting environments. Installing locally is invaluable for developers and testers. Whichever method you choose, following the steps carefully will lead to a successful WordPress setup.
Read also : WordPress Pricing Explained